
Migrating your WordPress website from one hosting provider to another might sound overwhelming, especially if you’re worried about downtime or losing your data. But the truth is, with the right process, anyone can move a WordPress site safely and smoothly. Whether you’re upgrading to a faster host, seeking better customer support, or just cutting down hosting costs, transferring your site is a smart move for long-term growth.
In this detailed guide, I’ll walk you through how to transfer a WordPress website to another host without losing your content, design, or SEO rankings. I’ll also sprinkle in some pro tips and recommended tools to make the migration painless.
Table of Contents
Why Transfer a WordPress Website to Another Host?
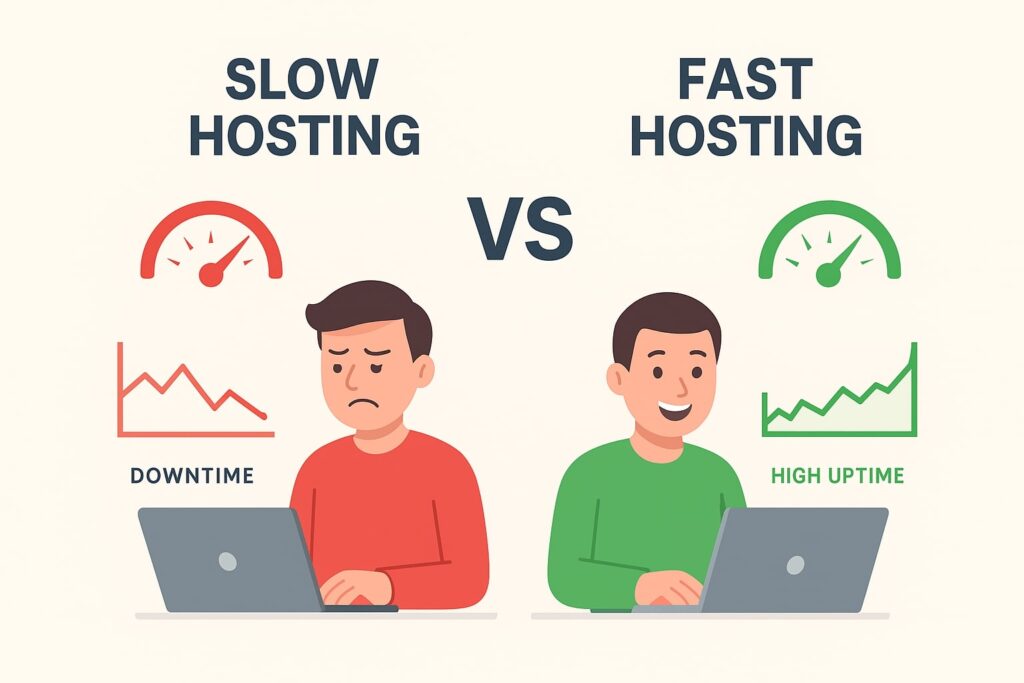
Choosing the right hosting provider can make or break your website’s performance. It’s time to switch hosts if your present one is giving you trouble, such as slow page loading, frequent outages, or subpar customer support. People typically move their WordPress website for the following reasons:
- Better Performance & Speed: Search engines like Google reward fast-loading websites, and your users will also thank you. If your current host can’t keep up, migrating is the best solution.
- Improved Support: Some hosting companies take hours (or days!) to respond to issues. A reliable host with 24/7 support can save you tons of stress.
- Cost-Saving Benefits: Maybe you’re paying too much for what you’re getting. Many hosting providers offer cheaper plans with better features.
- Enhanced Security: Hosting plays a big role in protecting your website from hackers. For your piece of mind, a server with robust firewalls, SSL, and backups is essential.
Things to Do Before Migrating WordPress
Before you jump into the migration process, there are a few crucial things you should take care of to avoid downtime and data loss. Think of it as packing before moving into a new house:
- Backup Your Website: Make a manual backup of your database and files or use programs like UpdraftPlus. This ensures you have a safety net in case something goes wrong.
- Check Domain Settings: Make sure you know where your domain is registered (e.g., GoDaddy, Namecheap). You’ll need to update your DNS later.
- Prepare Your New Hosting Account: Sign up with your new host and set up your hosting environment (cPanel, database, and WordPress installation if needed).
Methods to Transfer a WordPress Website
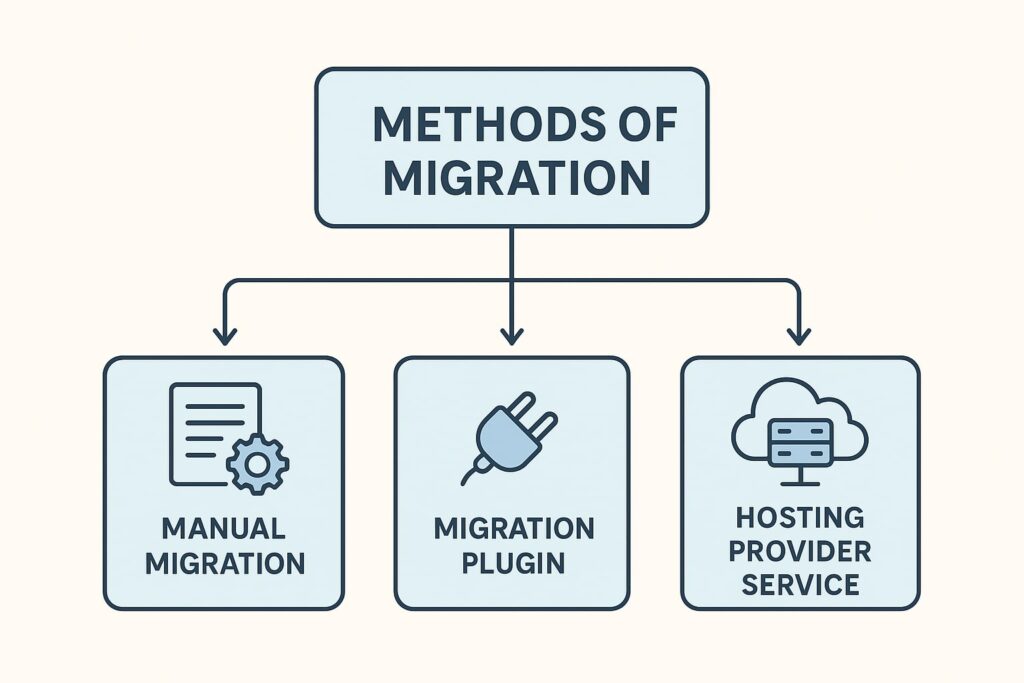
There are three main ways to migrate your WordPress site to another host. Depending on your technical comfort level, you can choose the one that works best for you.
1. Manual Migration
This is the most technical but also the most reliable method. It involves moving your website files and database manually.
2. Using a WordPress Migration Plugin
If you’re not very tech-savvy, plugins like All-in-One WP Migration, Duplicator, or UpdraftPlus can do the heavy lifting for you.
3. Hosting Provider Migration Services
Some hosting providers offer free migration services if you’re switching to their platform. This is the easiest option since their team handles everything.
Step-by-Step Process for Manual Migration
If you’re ready to roll up your sleeves, here’s the complete manual process:
Step 1: Backup WordPress Files
- Use FTP (FileZilla) or cPanel’s File Manager to download your entire WordPress directory (wp-content, wp-admin, and wp-includes).
- Don’t forget the .htaccess file—it’s often hidden!
Step 2: Export WordPress Database
- Go to phpMyAdmin in your old host’s cPanel.
- Select your website database.
- Click Export → Quick → SQL and download it.
Step 3: Create a New Database on the New Host
- Log into your new host’s cPanel.
- Go to MySQL Databases.
- Assign privileges, add a user, and create a new database.
Step 4: Upload Files to the New Server
- Use FTP or File Manager to upload all your website files into the new host’s public_html folder.
Step 5: Update wp-config.php File
- Edit the wp-config.php file with your new database details (name, user, password, host).
Step 6: Update DNS Settings
- Update the nameservers to point to your new host by logging into your domain registrar.
- DNS propagation can take up to 24–48 hours.
Transferring with a Migration Plugin (Easy Method)
If the manual method feels too technical, don’t worry—WordPress migration plugins make the process much easier. These tools are designed to move your entire website (files, themes, plugins, and database) without needing to touch FTP or phpMyAdmin.
Recommended Plugins for Migration
- All-in-One WP Migration: Very beginner-friendly, supports drag-and-drop migration.
- Duplicator: Great for cloning, backing up, and transferring WordPress sites.
- UpdraftPlus Premium: Best if you already use it for backups.
- WP Migrate DB: Ideal for developers that desire greater database control.
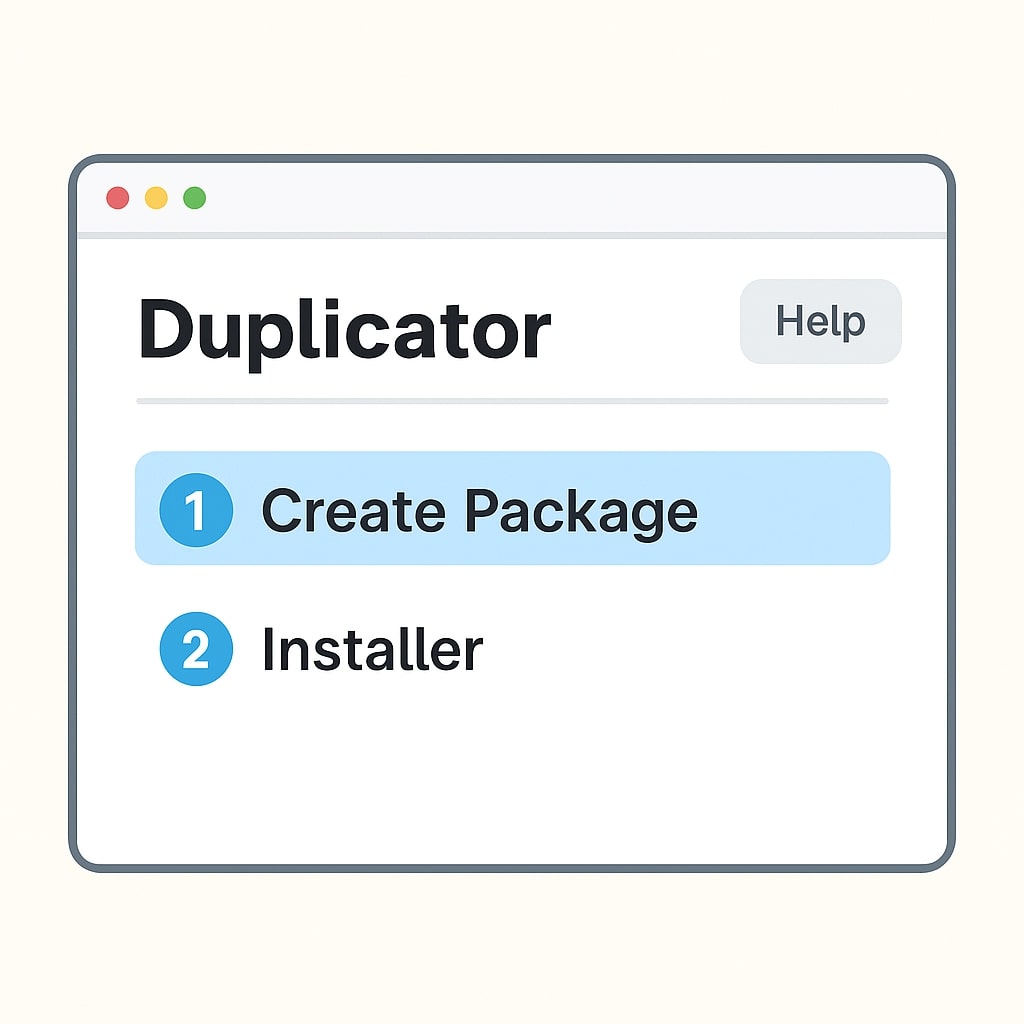
Step-by-Step Process Using a Plugin (Example: Duplicator)
- Install and activate Duplicator on your old WordPress site.
- Go to Duplicator → Packages → Create New.
- The plugin will generate two files: an Installer.php file and a Package.zip file.
- Download the two files, then use FTP to upload them to your new hosting server.
- In your browser, visit yourdomain.com/installer.php and follow the setup wizard.
- Give the plugin the specifics of your new database, and it will take care of the rest.
The best part? Plugins usually minimize downtime, and you don’t have to worry about messing with hidden files or database exports.
Testing Your Website After Migration
Once the transfer is complete, it’s time to make sure everything is working properly. Don’t assume your site is fine—test every major feature to avoid surprises.
Checklist for Testing
- Check the Homepage: Make sure it loads correctly and fast.
- Test Links & Navigation: Ensure all menu links and internal links are functional.
- Verify Database Connection: If you see “Error Establishing a Database Connection,” your wp-config.php settings might be wrong.
- Check Media Files: Make sure images, videos, and downloads appear properly.
- Test Plugins & Forms: Contact forms, membership logins, and other features should work.
- Review Permalinks: To update your structure, select Settings → Permalinks and click “Save.”
Common Problems and How to Fix Them
Even with careful migration, issues can pop up. Here are some common ones and how to fix them:
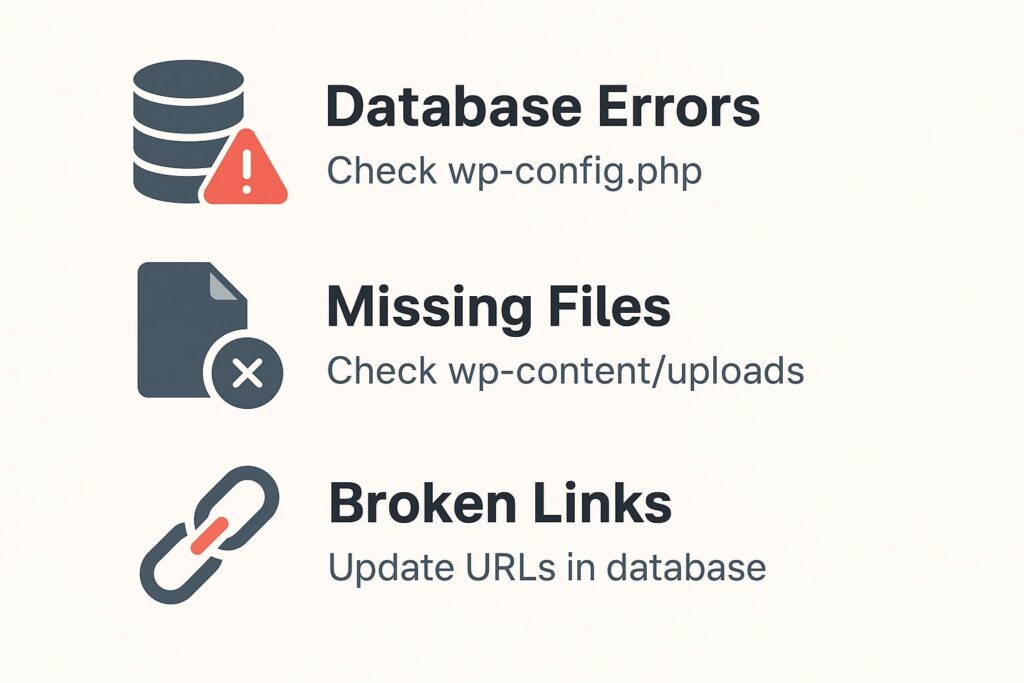
1. Error Establishing Database Connection
- Double-check your wp-config.php database name, username, password, and host.
- Contact your host to confirm database credentials.
2. Internal Server Error (500 Error)
- Usually caused by a corrupted .htaccess file.
- Rename the existing file and create a new one by saving permalinks.
3. Missing Files or Images
- Ensure your wp-content/uploads folder was transferred correctly.
- Check file permissions in cPanel or FTP (set to 755 for directories, 644 for files).
4. Broken Links After Migration
- Use a plugin like Better Search Replace to update old URLs in your database.
SEO Considerations During Migration
Losing search engine rankings is one of the main concerns during a relocation. A poorly handled migration can cause duplicate content issues, broken URLs, and lower rankings. But with the right precautions, you can maintain (and even improve) your SEO.
Key SEO Tips for Migration
- Keep URLs the Same: If you don’t change your permalink structure, you’ll avoid most SEO problems.
- Set Up 301 Redirects: If your domain or URL structure changes, redirect old URLs to new ones.
- Update Sitemap: Submit your updated sitemap to Google Search Console.
- Monitor Rankings: Keep an eye on your analytics and keyword rankings for a few weeks after migration.
- Check Robots.txt & Meta Tags: Ensure your site is still crawlable by search engines.
Final Checklist After Migration
Before you officially announce your site is live on the new host, here’s a quick checklist to confirm everything is in order:
- ✅ Files and database transferred successfully
- ✅ Permalinks refreshed
- ✅ No broken links or missing images
- ✅ SSL certificate installed on new host
- ✅ Site speed tested (use tools like GTmetrix or Google PageSpeed Insights)
- ✅ DNS propagation confirmed
- ✅ Backups enabled on the new host
Conclusion
Migrating your WordPress website to a new host doesn’t have to be stressful. With the correct planning, resources, and procedures, you can transfer your website without experiencing any downtime or harm to your SEO. Whether you choose the manual method, a plugin, or rely on your host’s free migration service, the key is to backup first, test thoroughly, and update your DNS correctly.
A successful migration means faster performance, better security, and a more reliable website for you and your visitors. Moving is easy than most people realize, so don’t let your fear of it stop you if you’re not pleased with your present host.
FAQs
1. How long does it take to transfer a WordPress site?
DNS propagation can take 24 to 48 hours, but a manual migration usually takes 1 to 2 hours.
2. Does migrating my site require technical expertise?
If done correctly, downtime is minimal or even non-existent.
3. Do I need technical skills to migrate my site?
Not necessarily—migration plugins and host support make it beginner-friendly.
4. Is it free to move my WordPress website?
Yes, using plugins like Duplicator or hosts that provide free migration services.
5. What if my new host has a different PHP version?
Newer PHP versions are supported by the majority of contemporary WordPress themes and plugins; however, always verify compatibility before switching.